 |
 |
  |
  |
  |
What I Made # 24 - Leather Sketchbook.
|
I got a sketchbook for my trip to Cambodia. It contains lots of memories and has also became some sort of an art journal - sketchbook - idea book. When I came back to Hong Kong, I decided to make a leather cover for it since it is a very good size to work with, small enough to carry around all day, and can be replaced at a reasonable price. Here is what the end result looks like. I have also included a rough sketch of the pattern used here.
Material needed: a piece of sturdy leather, sketch paper, scissor or cutter, wax thread, leather craft tool for punching holes, sewing needles, embellishment and snap button.
|
Showing posts with label Tutorial. Show all posts
Showing posts with label Tutorial. Show all posts
Saturday, February 04, 2012
{ What I MAde #24 - Leather Sketchbook }


Friday, February 03, 2012
{ What I MAde # 23 - Two Face Zipper Pouch }
 |
  |
  |

 |
 |
| What I MAde #23 - Two Face Zipper Pouch. |
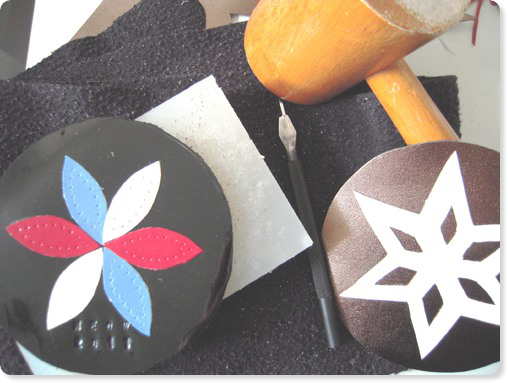
I call this "two face" coz I used different leather pieces and designs for the front and back. (Well honestly I was trying to use up some of my leather scrap...) I made this before Christmas 2011, but forgot to post about it. I use it mainly as a small pouch for my rings, bracelet and other things to keep in my bag. I didn't write a tutorial for it since it is quite simple and easy to make. If you have any questions, feel free to leave me a comment below. Take Care :)
|
Thursday, November 24, 2011
{ What I MAde #19 - Leather Bookmark Nov 24, 11' }
 |
  |
  |
  |
 |
| What I MAde #19 Inspired by Cliprite. |
What you need: a piece of scrap leather (mine is about 19cm x 2.5cm and 1mm thick), ruler, cutter, needles, nylon thread, some sort of punching tool. (I use a set of leather craft punching tools, but they can be easily replaced with other house hold items.) Decide the words and font you would like to use before cutting the leather strip. You may need a larger or smaller piece. Leather strip can be replaced with fake leather as long as it is sturdy but not too thick. |
|
Subscribe to:
Posts (Atom)