 |
| { What I MAde ~ Happy Jar - May 2014 } |
| I made this Happy Jar before we moved in April. I found an empty glass jar at home, decorated it with some masking tapes. (The two at the bottom are from MT, the first one from Maste.) I wrote my happy moments on scrap papers then put them in. When I feel down, I will pick out any random happy moments captured inside to cheer myself up. :D There is even a board for Happiness Jar on Pinterest. |
Showing posts with label 手作小東西. Show all posts
Showing posts with label 手作小東西. Show all posts
Thursday, May 29, 2014
{ What I MAde ~ Happy Jar - May 2014 }


Thursday, April 03, 2014
{ What I MAde ~ Rubber Stamp 橡皮章 ~ Apr 3, 2014 }

|
|


|
|


|


|


|


|
Thursday, February 27, 2014
{ What I MAde ~ Doodle Postcard 塗鴉明信片 ~ Feb 27, 2014 }
 |
| { What I MAde ~ Doodle Postcard 塗鴉明信片 ~ Feb 27, 2014 } |
| I have a few postcards with portraits on them. Never quite know what to do with them since I got them from someone else. Then I dug out my art supplies, found my white uni-ball Signo pen and started to doodle. Here is Einstein~ Going to do a few more and then send them out for swaps. :D |
Tuesday, February 18, 2014
{ What I MAde ~ Watercolor Kit #2 }
 |
 
|

 |
| { What I MAde ~ Watercolor Kit #2 } |
| The watercolor kit I mentioned in previous post. I used tube watercolor, empty plastic containers and a metal cigar box to make this kit. I need to be able take out the individual watercolor container out of the metal box, so at first I used double-sided tape and magnetic sheet to stick them together. After that failed, I used hot glue to attach the magnetic sheet. Then it failed as well. At the end I decided to just use glue tack without the magnetic sheet. It works perfectly! I label each individual container with a layer of washi tape and then a layer of plastic tape to protect it against water. (It is a watercolor kit afterall...) Now I can take my watercolor kit out more often and play :D |
Wednesday, February 05, 2014
{ Freebie ~ Valentine's Day Journal Card 情人節日記卡 }


{ Freebie ~ Valentine's Day Journal Card 情人節日記卡 }
Have you heard of Project Life? I have heard about it for a few years but don't think they are available in Hong Kong and it costs a lot to ship to HK... :( .So finally decided to make some of the journal cards on my own. The ones in the photos are meant to show what they can be used and some of them are different from the download ones. I'm going to use them as a mini VDay cards and or VDay journal cards. Please note that these are designed as a 3" x 4" format. I have included printing instruction on the pdf. Click to download. Enjoy! Personal use only!
你聽說過 Project Life?在美國很流行,我已經聽過它好幾年了,但沒有人在香港賣(另外運費昂貴...) :( 所以最後決定自己做一些情人節日記卡,請注意,照片是為了顯示他們可以什麼使用,和下載的是有些不同。我會用它們作為一個小型情人節日記卡或卡片。這些日記卡設計為3" × 4"格式。我已經在PDF寫下打印資料。僅供個人使用,點擊下載。
Thursday, January 16, 2014
{ What I've been working on ~ Jan 16, 2014 }
 |
| { What I've been working on ~ Jan 16, 2014 } |
| Happy New Year! Been working on my class assignment. We're asked to do a name card design but I have already done one for the other cass, the instructor let me do anything~~ :D Since I have not yet got a large calendar for 2014 and since I need to send a Chinese new year card home, so I decided to do a 2014 calendar postcard with horses on the front and postcard on the back. (Chinese new year ~ after Jan30 2014, it will be the year of the horse!)
Will make the pdf as a free download after I hand them in this week. I need to fix my computer after I finished this assignment, so the Japan trip photos and blog posts will have to wait~ See you all next week~ Take CAre! :D |
Wednesday, November 13, 2013
{ What I MAde ~ Washi Tape Bookmark/Mini Sample 紙膠帶書籤/分裝 }
 | ||
  | ||
| { What I MAde ~ Washi Tape Bookmark/Mini Sample 紙膠帶書籤/分裝 } | ||
| Material: Kraft cardboard, packing tape, washi tapes and a leather scrap. 材質:牛皮卡紙板,包裝膠帶,紙膠帶和皮料。
|
Tuesday, November 05, 2013
{ What I MAde ~ Washi Tape Bear Notepad MT紙膠帶熊記事本 }
 |

 |
| { What I MAde ~ Washi Tape Bear Notepad MT紙膠帶熊記事本 } |
| I have 3 sets of pre-cut colour papers at home for years and finally decided to make them into something fun and practial. I covered the front and back covers with MT washi tapes, glued them onto thick cardboards, hole punched and added plastic binding ring. Done!~ |
| The pages inside are for writing down my "everyday to-do" and "small happiness". ("Small happiness" means "小確幸" in Japanese.) I now carry this mini-book in my handbag with me everywhere~ It makes me happy just looking at it. :D |
| 我有3套色紙在家,終於決定用他們做一些有趣的小東西。先用MT紙膠帶貼在封面與封底,加厚紙板,打孔加binding ring。完成! 〜 |
| 我用內頁寫下“每天都要做的事情”和“小確福”。只要看著我的熊記事本,就讓我好高興 ! :D |
Tuesday, September 24, 2013
{ What I MAde ~ Copic Binding Notebook }
 |


{ What I MAde ~ Copic Binding Notebook }
I went to attend one of Siuyuett's bookbinding class last Saturday. I did make a few little journals for swaps based on youtube videos, but I would love to learn how to do it "right" so I registered a class there. The instructor, Teresa, explains things in very detailed fashion and we are encouraged to take our time to finish our notebook. ( It took me 4 hr 45 minutes to finish mine! ) Her notebooks are very lovely and very well made, take a look at her shop. Enjoy :
Monday, September 16, 2013
{ What I MAde ~ This Summer I... Zine for Free Download! }
 |
| { What I MAde ~ This Summer I... Zine for Free Download! } |
| I have received swap ratings from my partners regarding this zine,so they have all received it safely! :D . As promised, I'm opening this file for free download. Enjoy! This Summer I... ( Click link to download.) |
This Summer I... Zine Sept 2013
|
Tuesday, September 10, 2013
{ What I MAde ~ Diy Washi Tape, Sept 2013 }
 |
  |
  |
| { What I MAde ~ Diy Washi Tape, Sept 2013 } |
| I came across youtube videos by Jennibellie and The Artistic Pagan on making washi tapes. I followed the instructions by The Artistic Pagan to create my first set of tapes. (Click to see her videos for detailed instructions.) I'm going to test them out and will make adjustment on them for the second set later on. Minor changes:
|
| Have fun and enjoy! :D P.S. I tried to use the above washi tapes, please DO NOT use the Daiso bandage adhesive tape, not sticky at all after I rolled them on my plastic sheet! I used glue to stick the tape onto paper. Also use something to seal the colours if you want to try watercolour. |
Tuesday, September 03, 2013
{ What I MAde ~ This Summer I... Zine Aug 2013 }


| { What I MAde ~ This Summer I... Zine Aug 2013 } |
| The Summer zine I made for a swap. I have done a lot during the summer and would like to put everything into this little zine but 8 pages are just not enough to fit everything! Going to do a longer one later on for my summer journal. I will put up this 8 page one for free download once my swap partners have received them. Take Care! :D |
Tuesday, August 20, 2013
{ What I MAde ~ Dream Pocket Journal - Aug 19, 2013 }


| { What I MAde ~ Dream Pocket Journal - Aug 19, 2013 } |
| I made this pocket journal for a swap. This is the second journal that I'm made for that particular swap series since I have not received one from my last swap partner so have to make another one. Hope my partners have fun with my journals and we all try to keep the swap going. :D |
Tuesday, August 06, 2013
{ What I MAde ~ 30-Day Goal Journal }
| ||
| ||
| { What I MAde ~ 30-Day Goal Journal } | ||
I read about this deadline based method from one of those "get-everything-done" books, finally decided to try this format.
|


Tuesday, July 30, 2013
{ What I MAde ~ Watercolour Kit - July 27, 2013 }
 |
  |
| { What I MAde ~ Watercolour Kit - July 27, 2013 } |
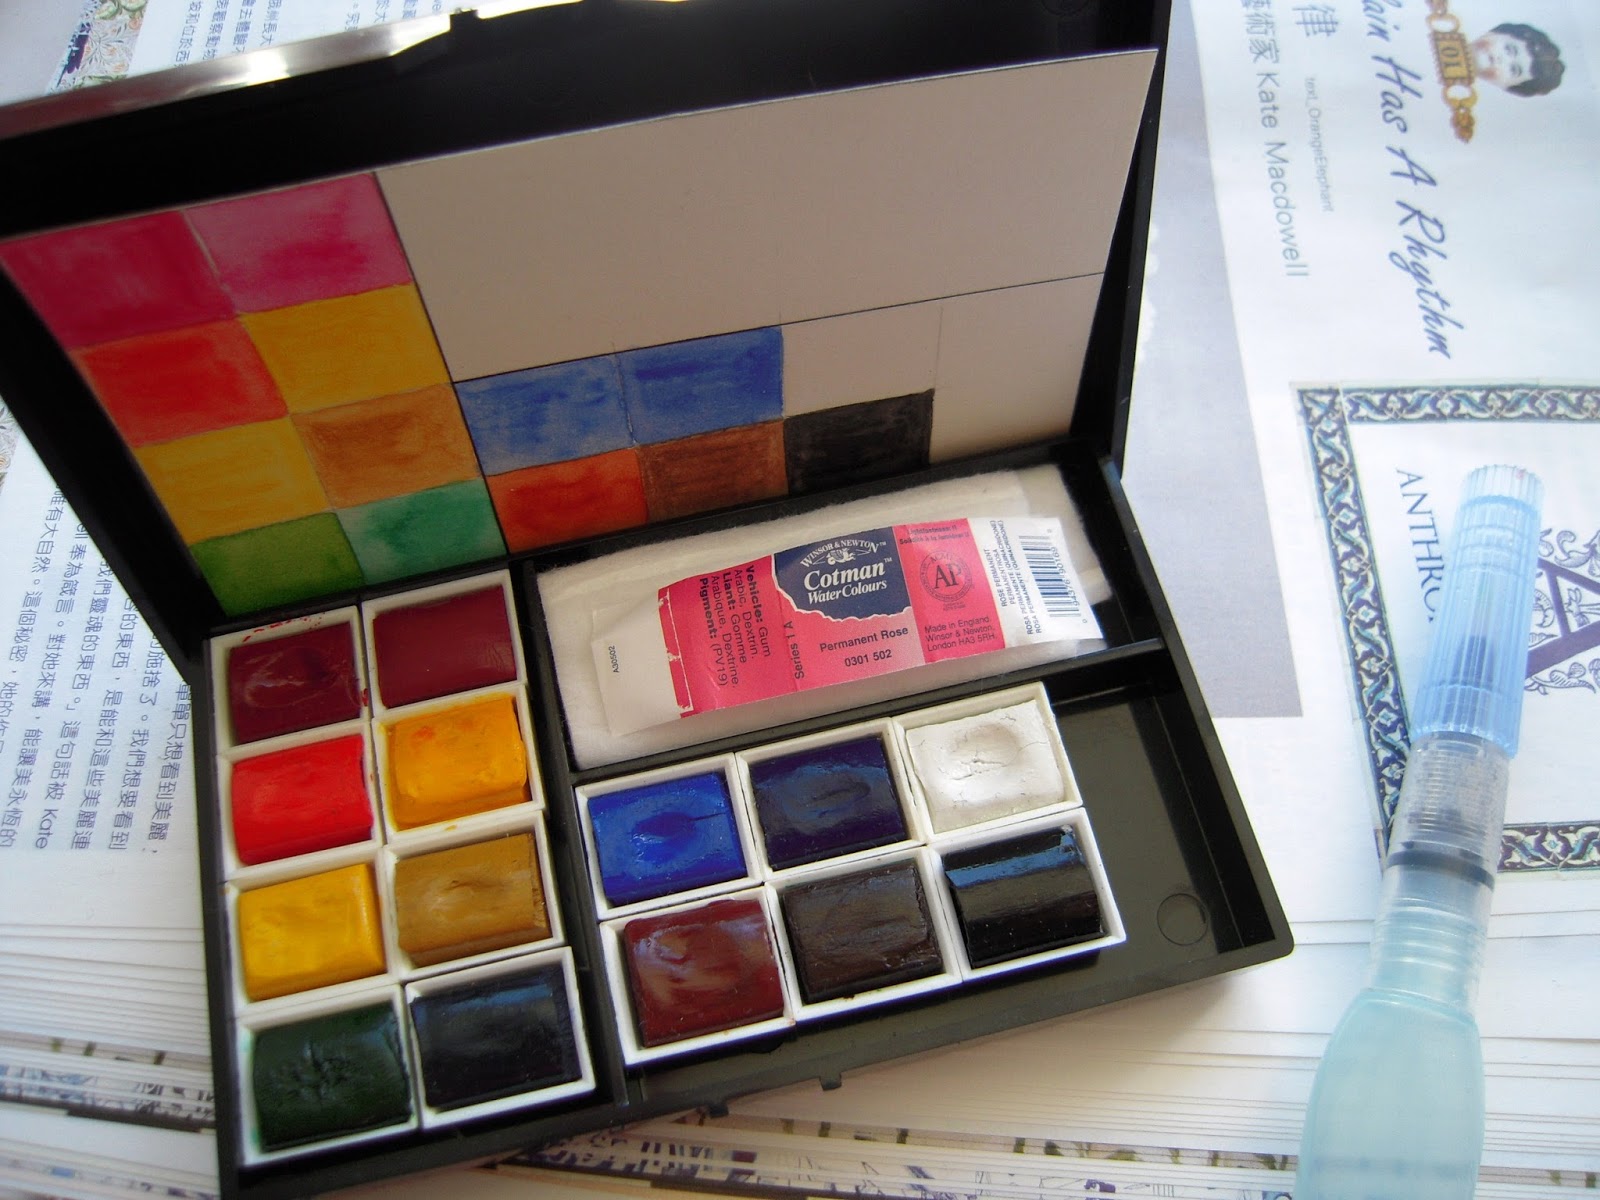
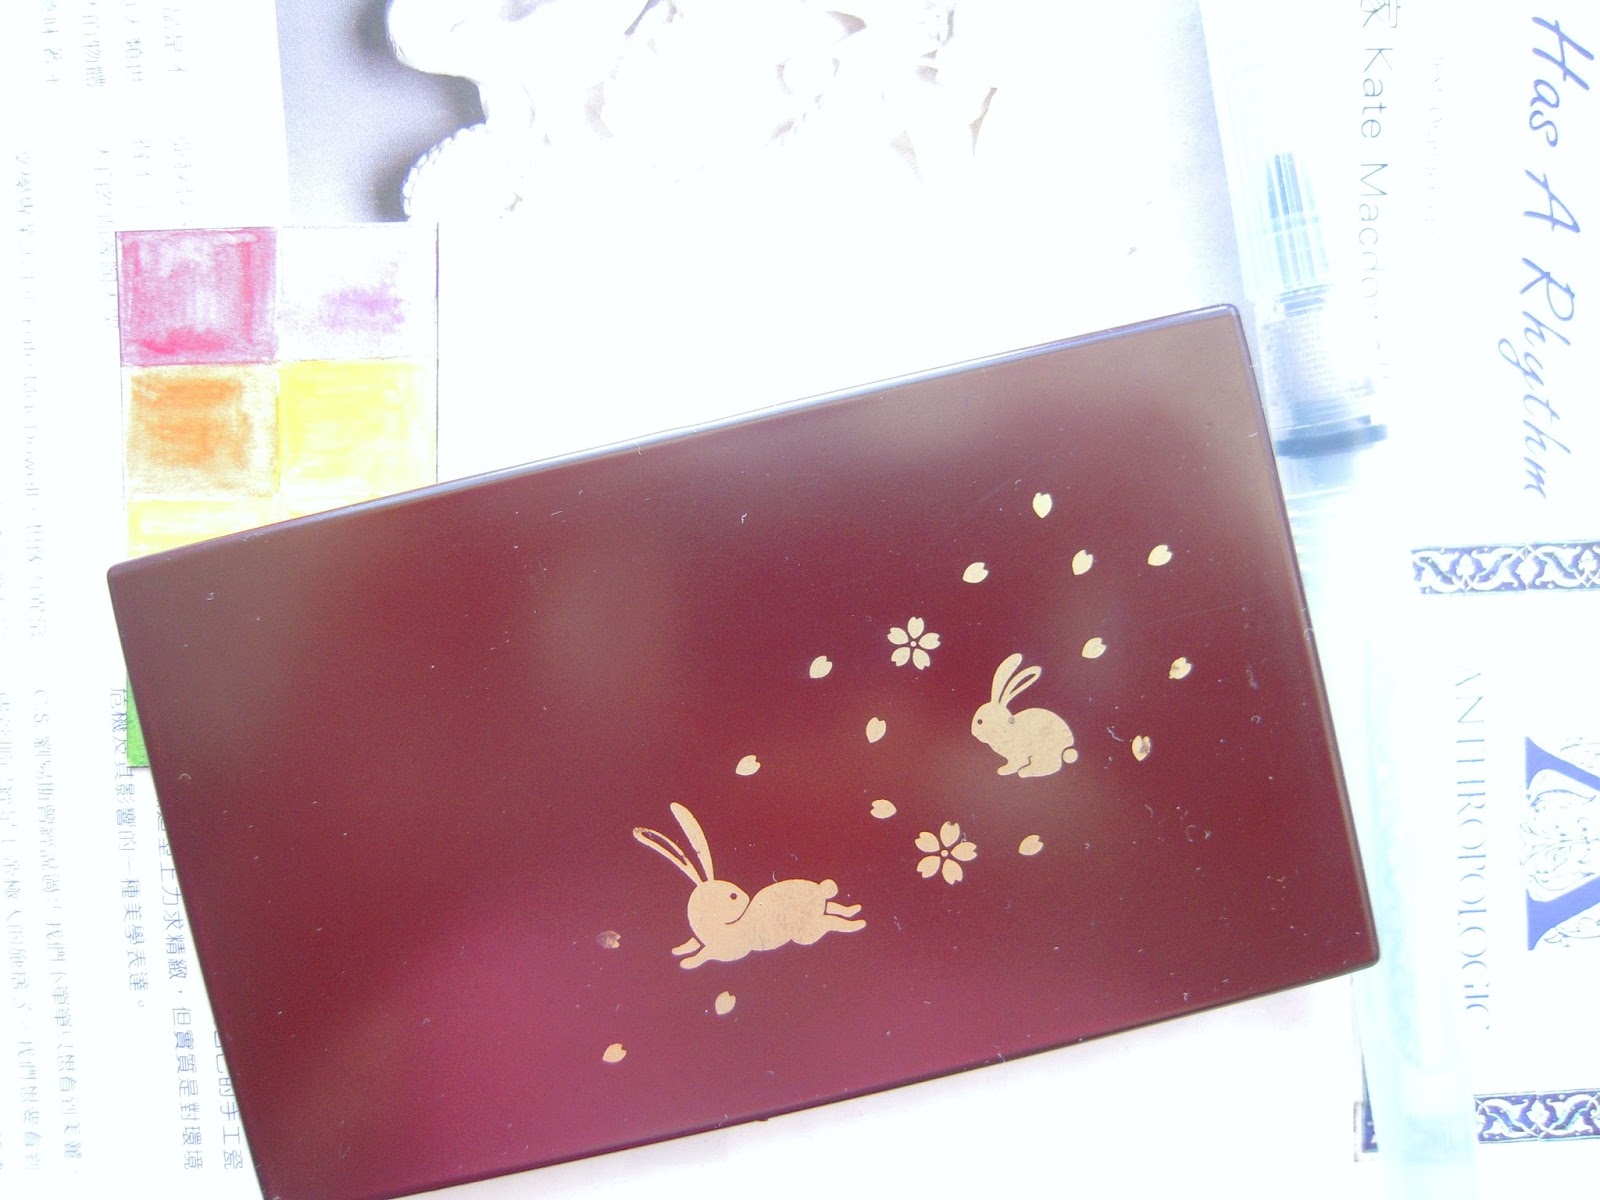
| I came across a blog post about making a diy watercolour kit a few days ago. It makes me think about my old kit sitting in the dark somewhere. I have not used it since it is a large kit that I don't want to carry around and I have always saved it for special times since it is a bit pricy. But that blog post showed me a compact kit that I could make and would love to carry around. I found a tiny plastic box I got from Jusco years ago and placed my watercolour pans in it. They fit in perfectly! I used double-sided tape at the bottom of each pan and sticked them onto the box. Then I made a colour swatch for it and will place it in the box after I get it laminated later on. This kit is only 1/3 the thickness of my old kit one weight less! Now I feel more certain that I will use it more often. :) Sorry, I don't remember where I came across that blog post, will update here when I find it again. |
Tuesday, July 16, 2013
{ What I MAde ~ Leather Cardholder - July12, 2013 }
 |
| { What I MAde ~ Leather Cardholder - July12, 2013 } |
| I made a cardhold for myself back in June and another one for Mr. C. This fancy one above is for myself. :D It has two compartments inside. One is for my "official work" business card and then one hopefully for my own business card one day. \(*>0<*)/ |
Thursday, July 04, 2013
{ What I'm Working on ~ July 4, 2013 }
 |
| This is one of the projects that I have been working on recently. Going to take a photo of it once it is done. |
Thursday, June 27, 2013
{ What I MAde ~ Mandala Day Planner Sheet 1.0 Jun 27, 2013 }
 |
| { What I MAde ~ Mandala Day Planner Sheet 1.0 Jun 27, 2013 } |
| I came across Patrick's Chronodex about 1 or 2 year ago. I love it though I still cannot figure out how to put the pages together in the right order... Too complicated for my simple mind :P He released a new version for July to December 2013 a few days ago and I wanted to try this again. Since I'm into drawing mandala, I decided to try his idea on a mandala form. Just been using this for a few days but can already tell it needs a lot more work to make it better. Will blog about it later on. |
Subscribe to:
Posts (Atom)